
Are you stuck at home and dreaming of the trail? Now might be the perfect time to take on that do-it-yourself project you’ve been thinking about.
One of our members, Cassie, recently made her own tarp, and it was a true success story. If you need inspiration, look no further.
Tell us what you made.
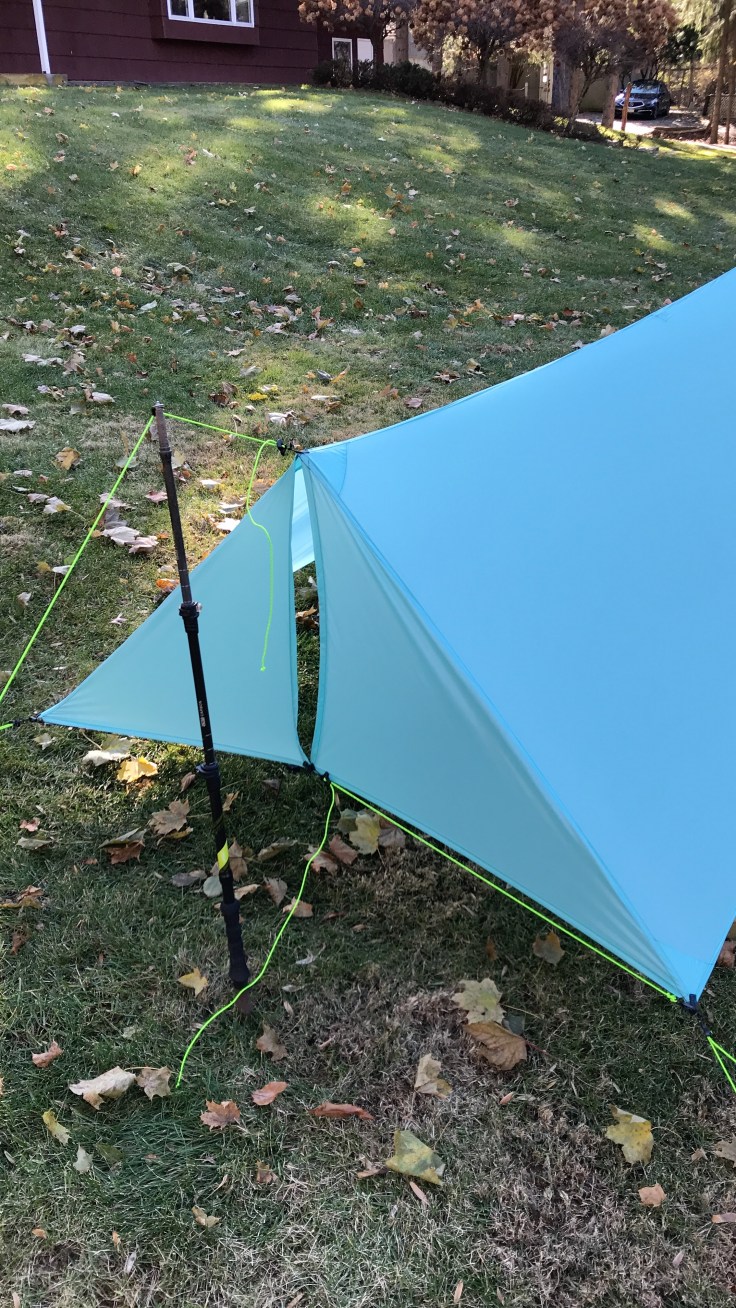
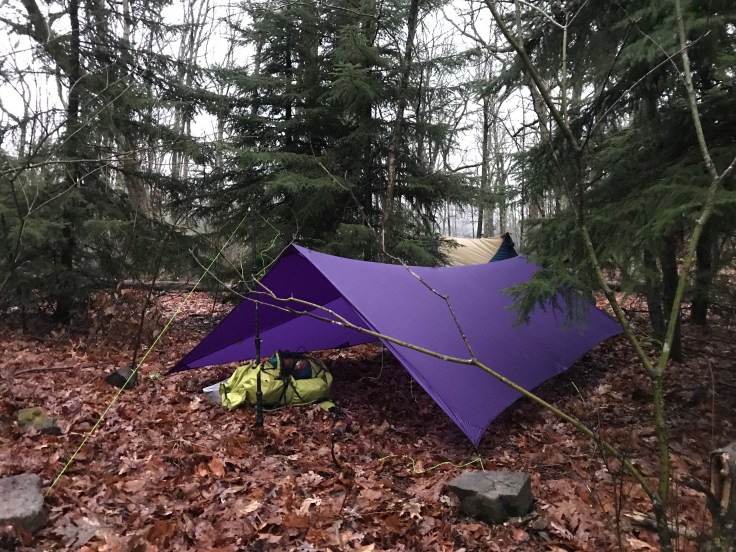
I made a 2-person tapered, cat-cut, A-frame, silpoly tarp with double doors at both ends. It’s about 9′ long, 9′ wide at the head, and 7′ wide at the foot, with catenary curves along the ridge and the edges. It weighs about 16 ounces, including all guylines.

What motivated you to take on this DIY project?
I’d seen people make and use their own shelters before, and I loved the idea of taking my own gear out on trail. I’d made some smaller things before (food bags, a fanny pack), but nothing “core” like a tarp. I also have a fair bit of sewing experience, and it was fun to combine two hobbies that I previously hadn’t really imagined overlapping at all.
So you had previous experience with sewing?
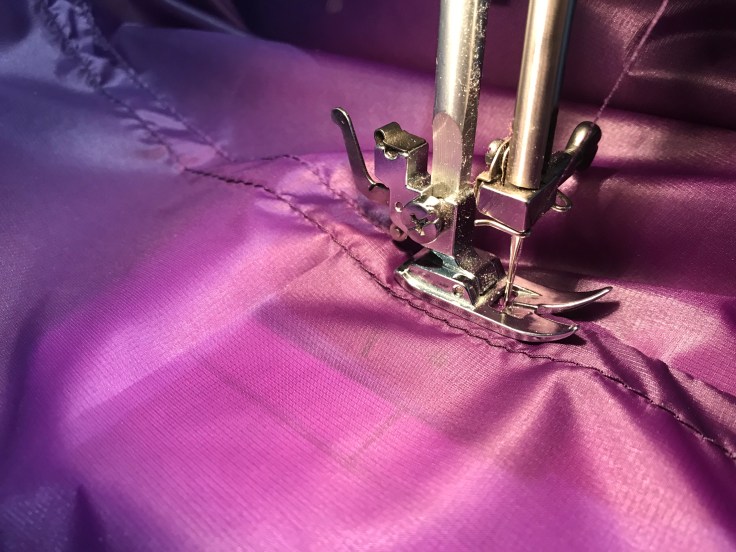
Yes! I’ve known how to use a sewing machine since I was a kid (thanks, Mom!), although my experience was largely with quilts and garments. I was a bit overconfident at how well those skills would translate; not only is silnylon really different to work with compared to quilting cotton or apparel fabrics, but also the sheer physical size of the project introduces a lot of other complications. Do you have enough room to trace out a 9’x9′ pattern? How do you make sure you hold a consistent 1/4″ seam allowance along nearly 35′ of hem? Things like that.

Was it difficult to find the material?
Not at all. Ripstop By The Roll had everything I needed, although I got a couple odds and ends from Yama Mountain Gear as well (seam sealer, grommets for the ridge tie outs, etc). I needed about 9 yards of 1.1 ounce silpoly (including the double doors at both ends), and for anyone hoping to save a ton of money by making their own gear, keep in mind that the materials for a tarp this size will run about $80.
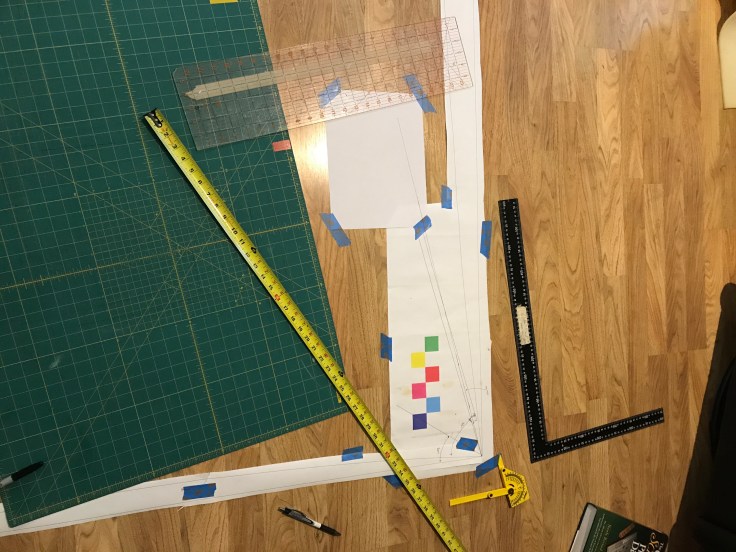
I used a custom-printed pattern (from a friend) to trace the catenary curves, and I appreciated having a rotary cutter and mat (rather than just fabric shears). My favorite tool for this project was a set of Clover Wonder clips that I used instead of pins; they don’t damage the fabric, and they hold the slippery material much better.
Has it served you well?
I’m so happy with it! With the weather we had this past winter, it was easy to put it through its paces and get some proper storm testing right away. It kept me dry through a lot of rain and wind, and was plenty spacious for 2 people. I love the mitten hooks I installed at the head/foot peaks, and the doors give me a ton of storm protection and privacy. I’m excited to take it with me on the PCT this year!
What might you do differently next time?
I wouldn’t do too many things differently next time, but only because I already fixed most of the mistakes I made in attempt #1! For this round, I used straight edges at the head and foot ends (instead of catenary curves) to make the doors a bit cleaner, and I also made the doors much larger so they’d overlap and fully close. The ridgeline also came out much cleaner on this attempt, but I’m not sure what I did differently.
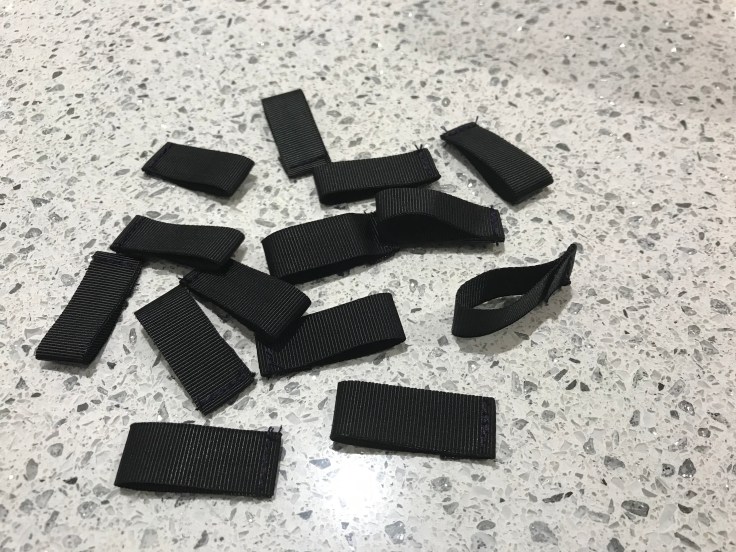
I did still make plenty of little mistakes, though – for example, all the reinforcement patches ended up on the outside! Oops. One thing I really appreciated doing this time was getting as much out of the way as soon as possible. I did all the cutting, hemmed the doors and patches, prepped all the pull tabs, etc. before I started sewing the long ridge seams — it made it feel like it came together really quickly, because I wasn’t stuck with all those fiddly bits at the end when I’d feel like I should be done already.
Thanks for sharing, Cassie! Have you successfully or unsuccessfully completed a DIY project?
All photos courtesy of Cassie.

Leave a comment